How To Add/Edit an Image
What You Need
An image file, preferably in webp, jpg or png. Please check the size of the image file before uploading - see the optimising images guide.
Method to Add/Edit an Image
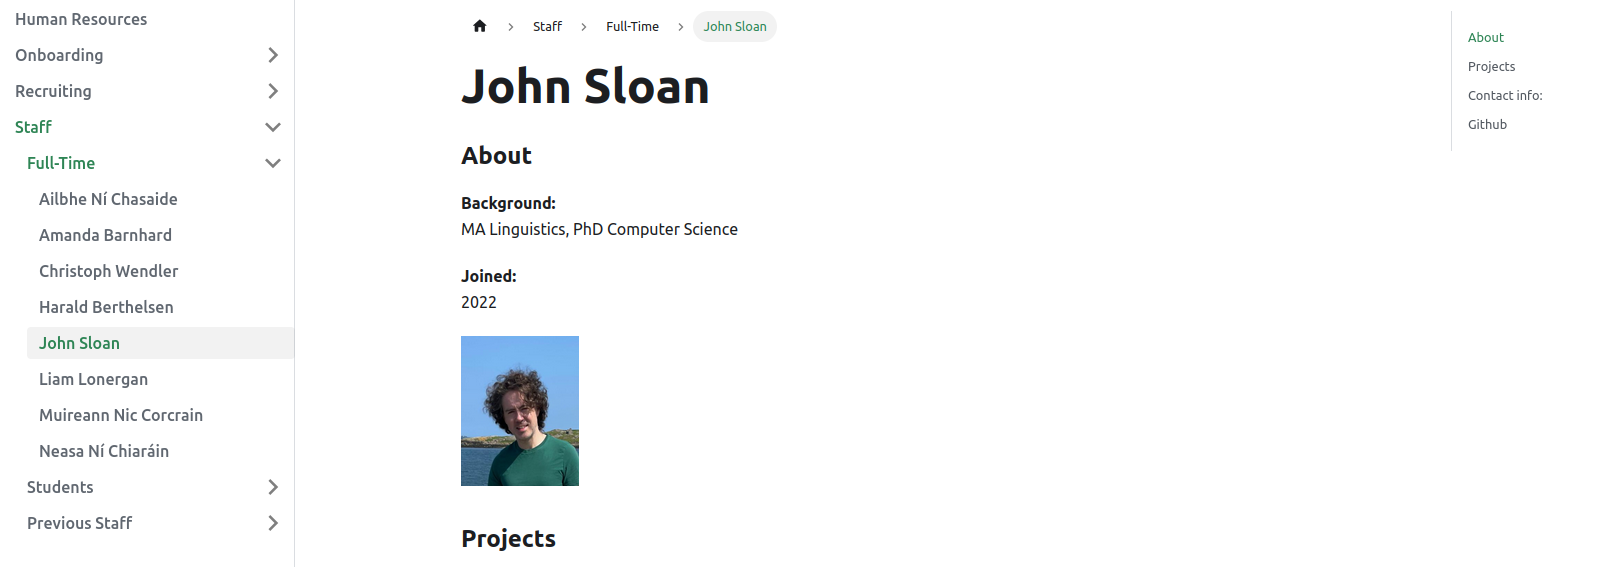
For this example we will edit the headshot image used on a staff page.
1. Edit the file
- Navigate to the page you wish to edit.
- Click the
edit this pagebutton.
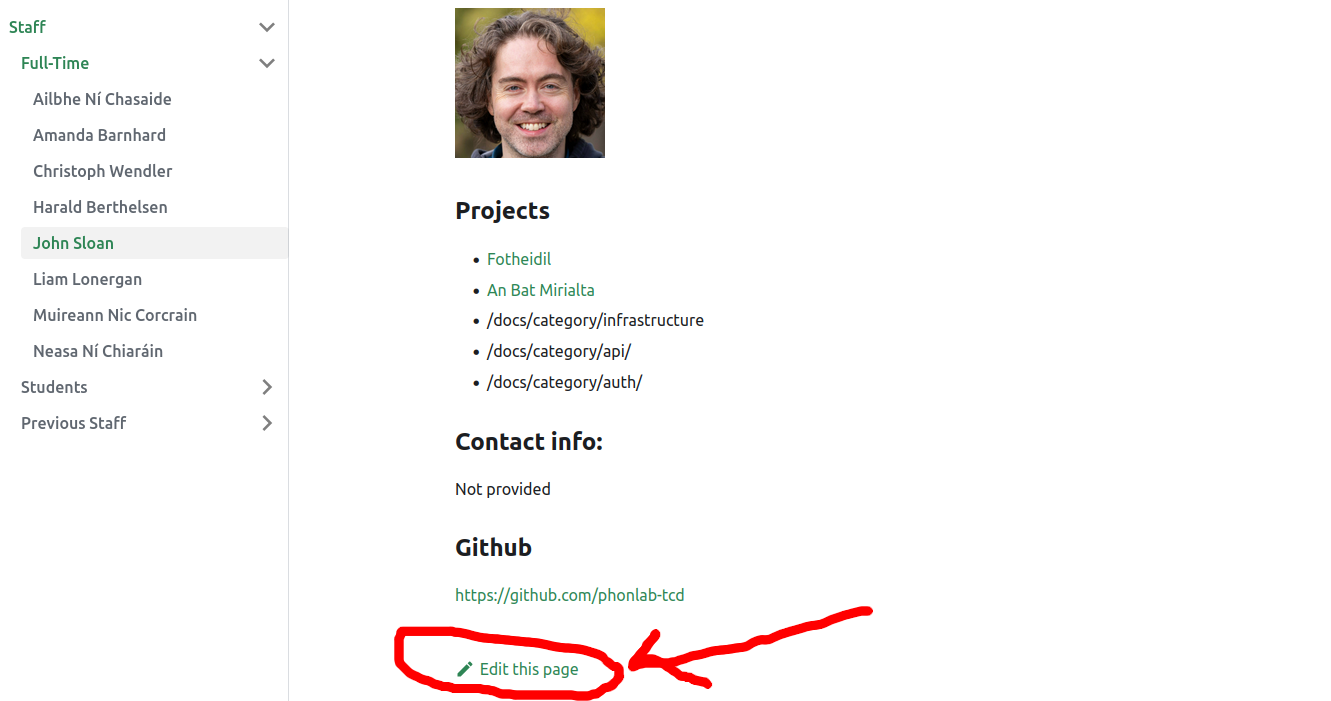
- Click the pencil icon.
2. Add or edit the img tag
- Add or edit the following line of code with the name of your image file and a suitable entry for 'alt' (alternative - text which appears if you image does not load), e.g. replace
john-sloan.jpgwith the name of the image file you will upload.
<img
  src="/img/headshots/john-pic.jpg"
  alt="Image of John Sloan"
  style={{ height: "150px" }}
/>
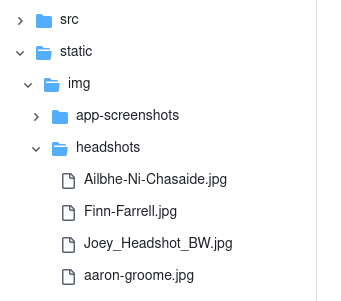
3. Upload your image file to the correct directory.
In this example, the image is contained in the folder static/img/headshots.
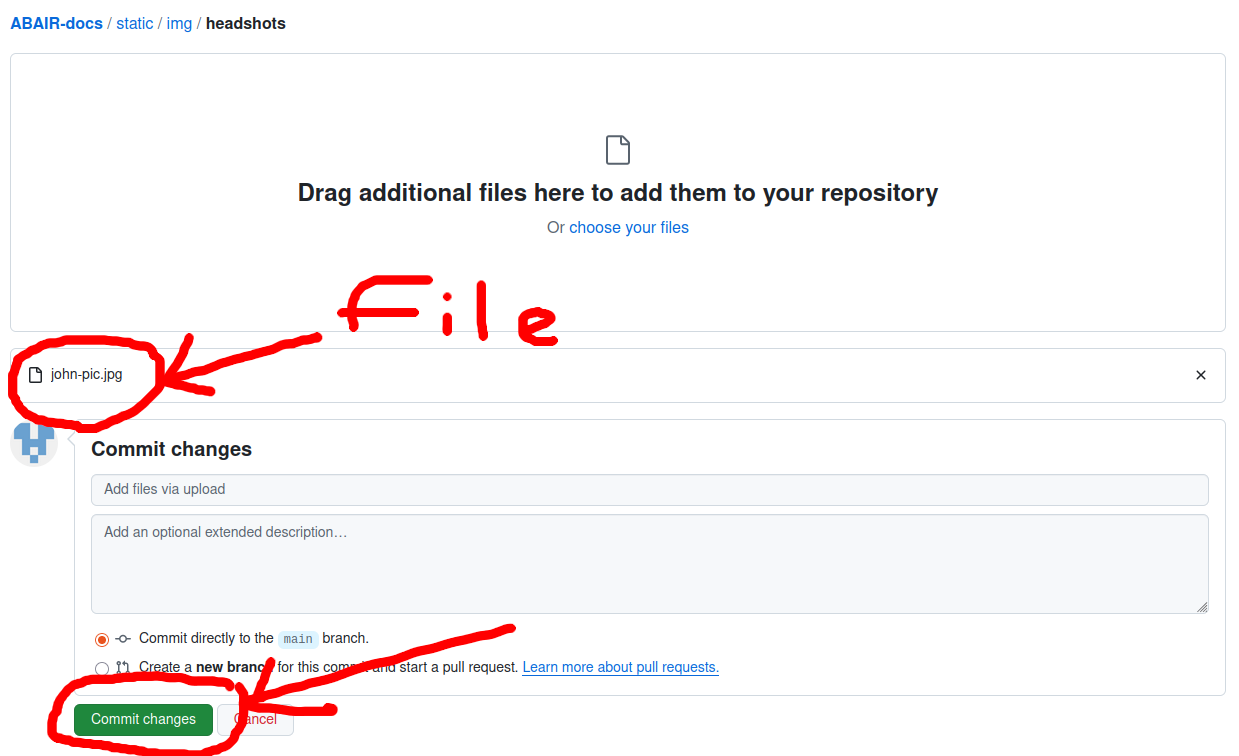
- Open the headshots folder, click
add fileand thenupload files.

- Upload your file (drag or select) and then click
Commit changes.
4. View the changes on the live site.
Wait a few mintues, and you should see the changes on the main site.